

You pull up your new business portfolio on your phone during lunch, admire the stunning high-resolution photography, and notice something frustrating: the page hangs in silence while your mobile screen stays stubbornly blank.
Here is the plain truth:
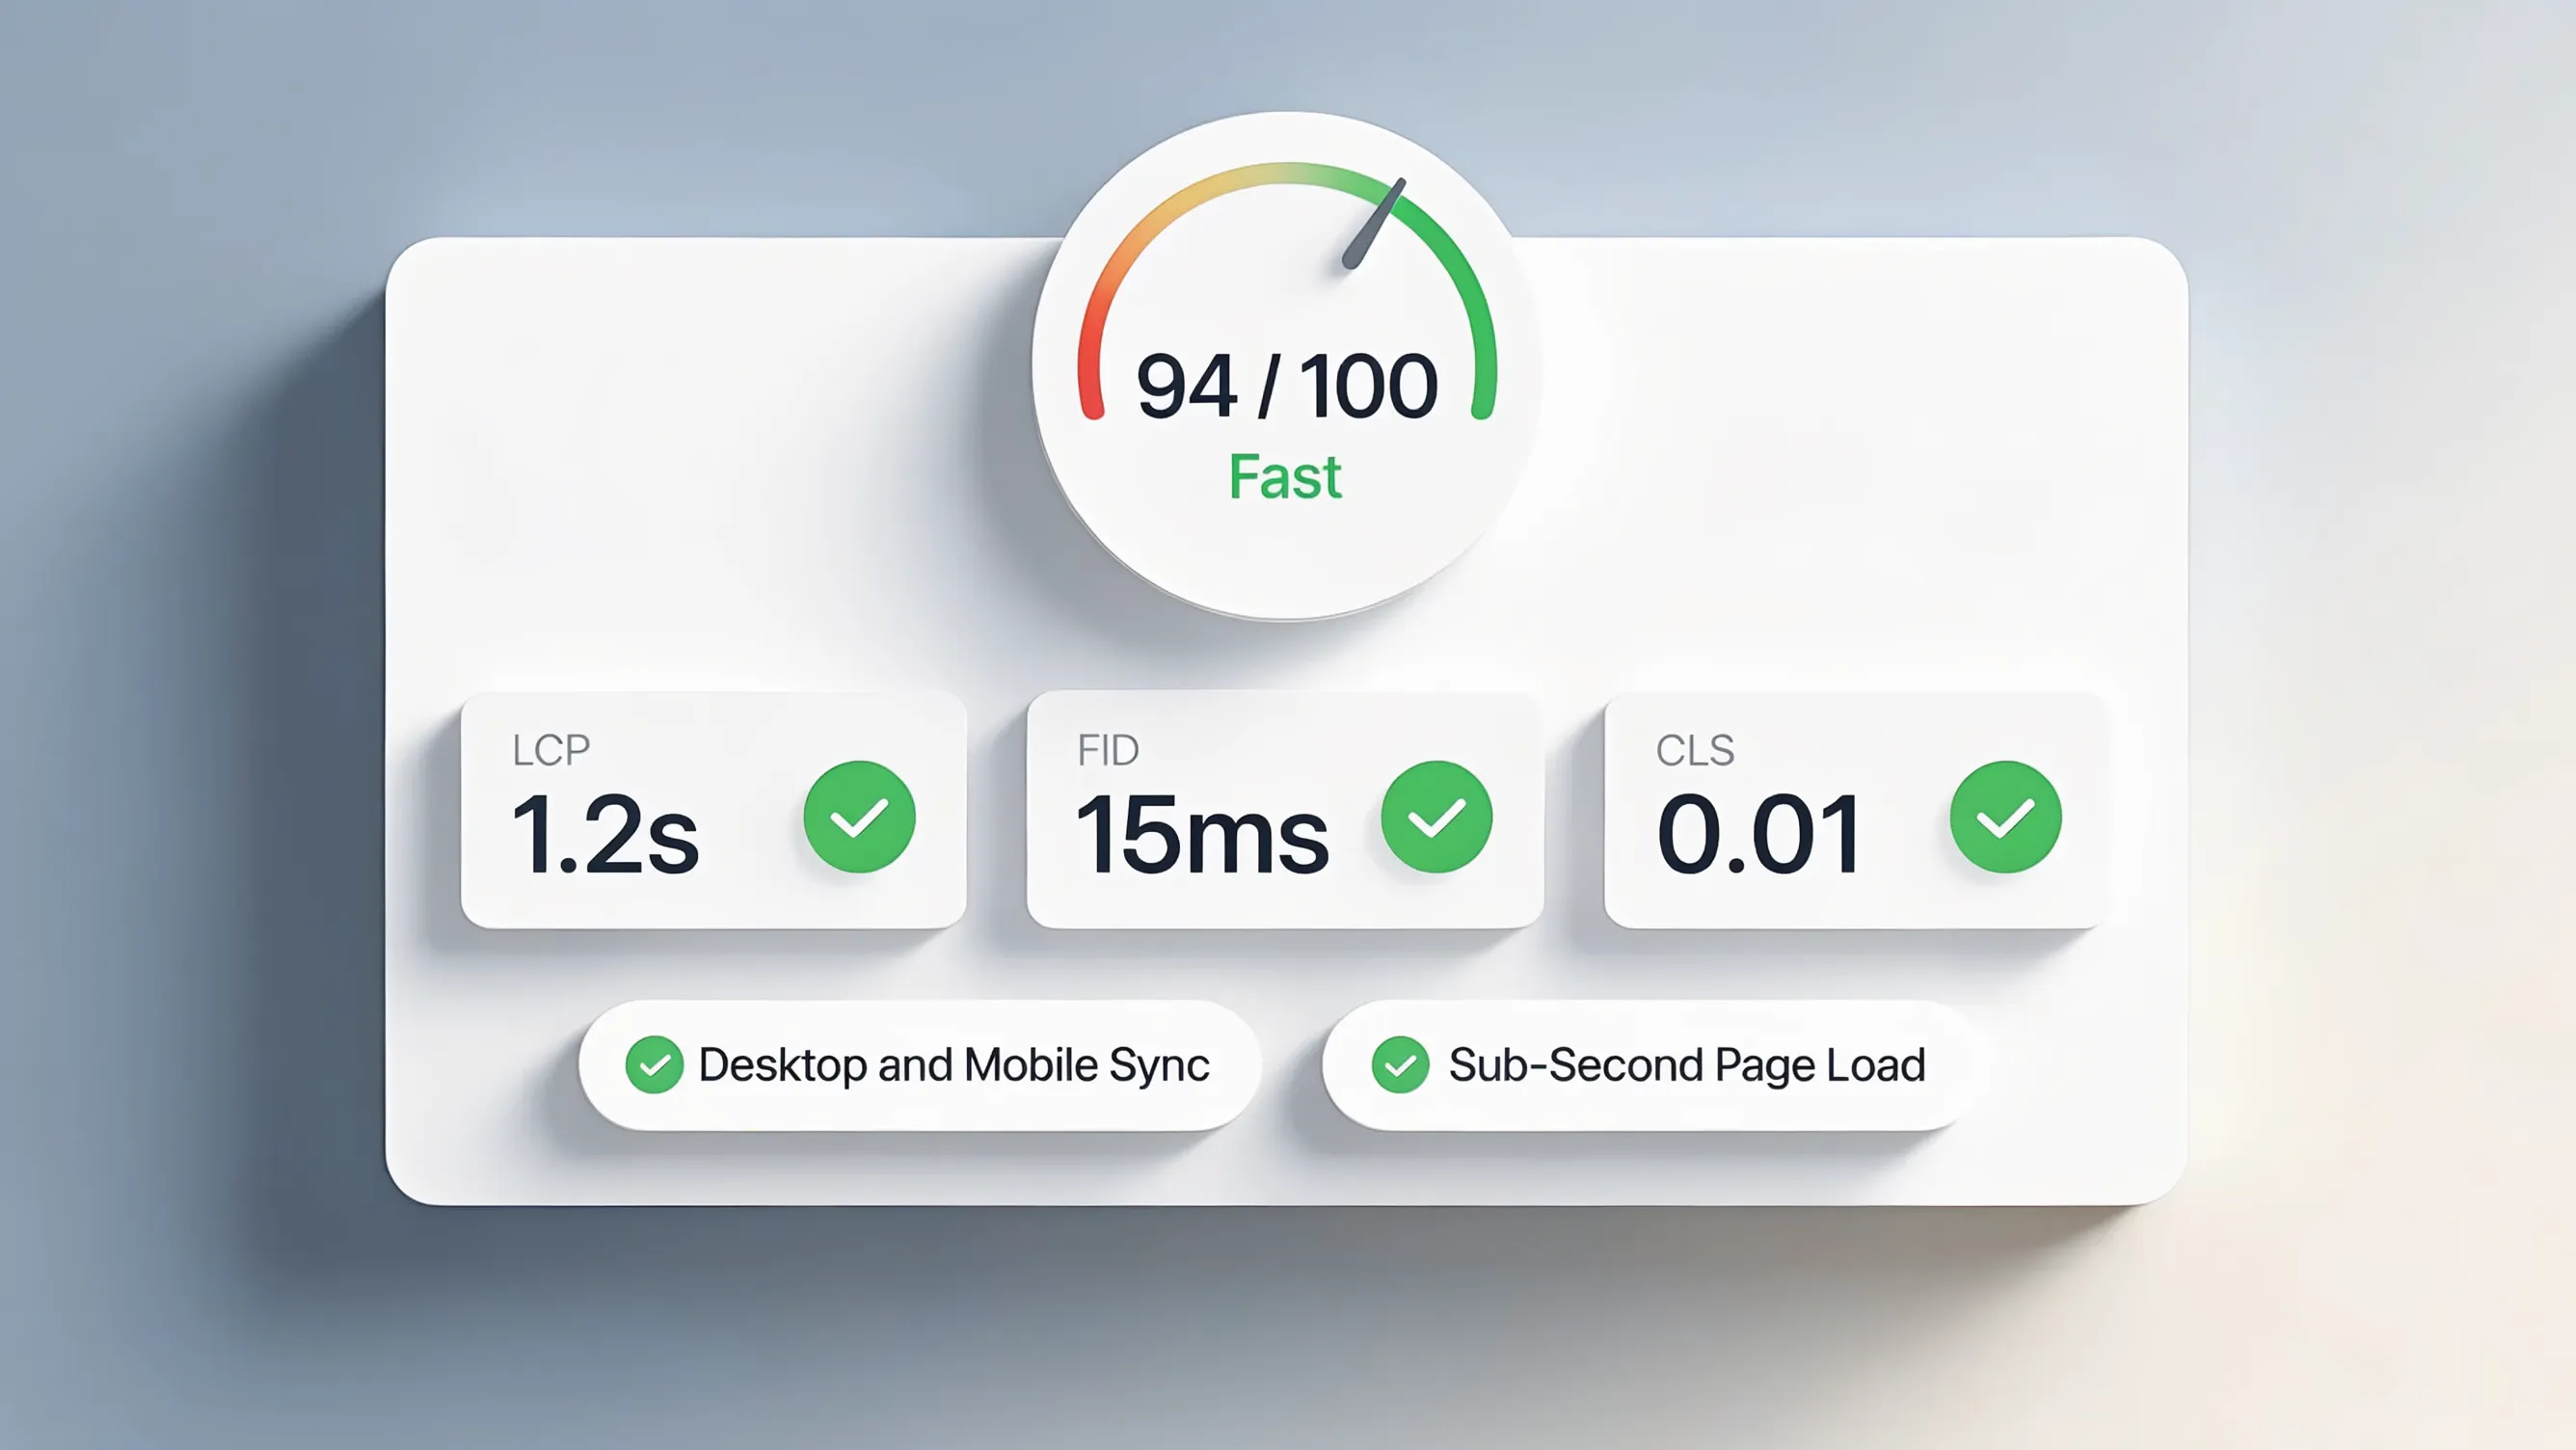
High-definition visual assets give your digital storefront emotional punch, but they carry massive data weight. When you upload unresized multi-megabyte photographs straight from a camera roll, you force mobile browsers to download unnecessary pixel data over slow cellular connections. This sluggish delivery tanks your Core Web Vitals, spikes your Largest Contentful Paint (LCP) times, and causes impatient buyers to bounce before your content even appears.
Mastering website image optimization bridges the gap between stunning visual design and lightning-fast technical performance, ensuring search crawlers index your media and human visitors enjoy a seamless browsing experience.
Historically, prepping images for the web meant opening heavy desktop software, manually exporting separate resolutions, and writing complex HTML attributes by hand. Modern platform architecture removes that tedious technical friction completely.
When you build your online storefront on BoltWeb, getting automated, highly useful image optimization in your website is effortless. Instead of resizing files manually, BoltWeb formats, compresses, and serves modern image formats automatically right out of the box—giving you lightning-fast page speeds and flawless mobile performance without manual technical stress.
Here is your complete operational blueprint to master image formats, dimensions, compression, alt text, and responsive delivery.
1. Why Website Image Optimization Matters for SEO and Page Speed
Let's clear up a major misconception right from the start:
Image optimization is not just about shrinking file sizes to save server storage; it is a core pillar of technical SEO and page experience. When a webpage contains five oversized PNG files totaling 15 megabytes, the browser stalls while downloading pixel data, delaying the rendering of your primary text and hero elements (review performance guidelines in the Google Developers: Optimize Largest Contentful Paint documentation).
Optimizing your media assets improves LCP scores, enhances mobile usability, and unlocks valuable visibility within image search results. Mastering how to optimize website images for SEO, elevating your general image SEO, and implementing robust website image optimization protects your search rankings (also see why large image files are one of the leading reasons your website loads slowly).
2. Choose the Right Image Format: WebP, AVIF, JPEG, and PNG
Using outdated formats or mismatched file types bloats your page weight unnecessarily. Always choose the correct image format based on visual requirements and browser capabilities.
Image Format Selection
| Image Type | Recommended Format | Why |
|---|---|---|
| Product photographs | WebP or AVIF | Efficient compression while retaining visual detail. |
| Blog photographs | WebP or AVIF | Smaller files for photographic content. |
| Transparent product graphics | WebP or PNG | Supports transparency cleanly. |
| Logos and icons | SVG | Scalable vector graphics that never blur. |
| Older image assets | JPEG or PNG | Useful where existing compatibility requires them. |
| Animated images | WebP, GIF, or video | Choose based on animation needs and browser support. |
Modern formats such as WebP and AVIF can reduce image file sizes compared with traditional formats, but compare actual output quality before replacing every image.
Understanding WebP vs AVIF comparisons, knowing when to choose JPEG vs PNG, evaluating proper image file formats, and selecting the best image format for websites keeps your media payload lean.
3. Resize Images to the Correct Dimensions Before Uploading
A classic amateur mistake is uploading a 4000-pixel wide camera raw photo into a 600-pixel blog content column. Even if compressed, the browser still has to process excessive hidden pixel data.
Recommended Source Dimensions
| Website Placement | Example Source Dimensions | Consideration |
|---|---|---|
| Small blog thumbnail | 400 × 300 px | Avoid uploading an unnecessarily large original. |
| Blog article image | 1200 × 800 px | Match the content column and desired display quality. |
| Product photograph | 1000 × 1000 px | Keep product details clear and consistent. |
| Homepage hero image | 1600 × 900 px | Consider desktop and mobile display crops. |
| Small icon | SVG or small raster | Avoid using a large photograph for a small graphic. |
These are illustrative starting points, not universal image-size requirements. Actual dimensions depend on layout, display density, and responsive configuration.
Learning how to resize images for website layouts, mastering image dimensions SEO, and controlling your overall website image size eliminates wasted bandwidth.
4. Compress Website Images Without Making Them Look Blurry
Striking the right balance between aggressive file compression and pristine visual clarity prevents your product photos from looking grainy or pixelated.
Before-and-After Compression Comparison
| Version | File Size | Visual Quality |
|---|---|---|
| Original JPEG | 1.8 MB | High |
| Compressed JPEG | 420 KB | Good |
| WebP | 260 KB | Good |
| AVIF | 190 KB | Good |
Illustrative figures only. Actual compression results depend on source images, dimensions, and encoder settings.
Always inspect fine details, text edges, and transparency after compression rather than chasing the absolute smallest file size blindly. Learning how to compress images for website files, mastering image compression SEO, working to reduce image file size, and knowing how to optimize image quality ensures your visuals remain crisp (also see how to make a website load faster by stripping unnecessary image payload alongside other performance wins).
Build High-Converting Storefronts with BoltWeb
Automate Image Optimization and Deliver Lightning-Fast Digital Experiences
Stop losing prospective buyers, lower conversion rates, and poor search rankings to sluggish server responses, heavy image payloads, and unoptimized hero banners. Build your digital storefront on BoltWeb, attach your custom domain, and let AI Foundry automatically compress, format, and serve your media assets in next-gen WebP and AVIF formats so your business stays fully optimized for maximum search visibility without manual coding.
Get Started On Your Journey →5. Write Image Alt Text That Helps Search Engines and Screen Readers
Stuffing every image description with repetitive keyword lists looks spammy to search engines and creates a terrible experience for visually impaired users relying on screen readers.
Effective Alt Text Examples
| Image | Poor Alt Text | Better Alt Text |
|---|---|---|
| Bakery product | bakery bread bread shop best bakery | Fresh sourdough bread displayed on a bakery counter |
| Software screenshot | SEO website software | Website analytics dashboard showing monthly visitor traffic |
| Restaurant interior | restaurant | Restaurant dining area with wooden tables and pendant lighting |
| Decorative background | business website background | Empty alt attribute: alt="" |
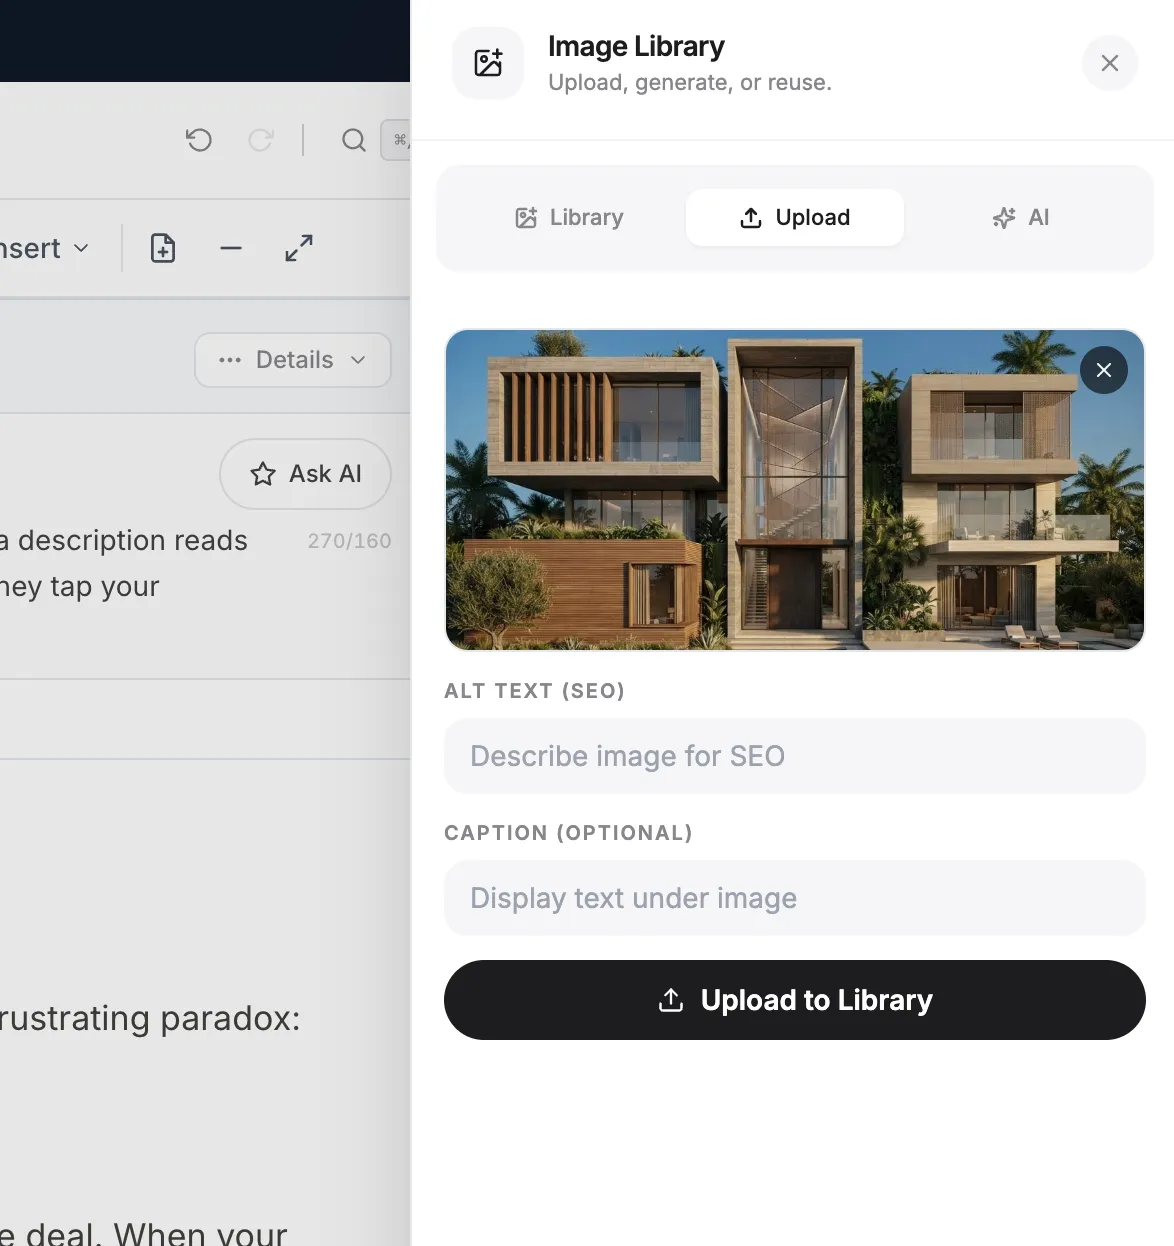
The purpose of alt text is to communicate meaningful image content, particularly for screen-reader users. Decorative images generally should have empty alt text.
Mastering proper image alt text, refining your SEO image alt text, learning how to write alt text for images, and prioritizing image accessibility builds an inclusive, search-friendly site architecture (also see how to choose images for your website that pair meaningful visual content with descriptive alt attributes).
6. Use Descriptive Image Filenames and Relevant Captions
Leaving image files named as generic camera strings like IMG_9824.jpg provides zero contextual clues to search crawlers indexing your visual content.
Before uploading your media, rename files using plain English words separated by hyphens (e.g., sourdough-bread-loaf.webp instead of bread1.webp). Pairing clean filenames with helpful surrounding captions and contextual body text gives search engines clear topical signals (explore search indexing guidelines in the Google Search Central: Image publishing best practices documentation). Optimizing SEO image filenames, establishing consistent image file naming, writing image captions SEO, and using descriptive image filenames strengthens your media context.
7. Serve Responsive Images for Mobile, Desktop, and High-Density Screens
Serving a massive 1600-pixel wide desktop banner to a smartphone user wastes cellular data and slows down page rendering.
Responsive Image Implementation
<img
  src="business-website-800.webp"
  srcset="
    business-website-400.webp 400w,
    business-website-800.webp 800w,
    business-website-1200.webp 1200w
  "
  sizes="(max-width: 600px) 100vw, 800px"
  width="1200"
  height="800"
  alt="Small business website displayed on a laptop"
  loading="lazy"
>
- src provides a fallback image.
- srcset lists available image versions.
- sizes describes expected display widths.
- width and height help reserve layout space.
- loading="lazy" is appropriate for images below the fold.
Implementing responsive images SEO, configuring srcset and sizes attribute rules, utilizing the picture element, and mastering mobile image optimization ensures tailored asset delivery across devices (see official recommendations in Google Search Central: Deliver responsive images).
8. Improve Image Loading With Lazy Loading, Preloading, and Priority Hints
Lazy loading is a powerful performance technique for below-the-fold media, but applying it to your primary hero banner delays image discovery and tanks your LCP score.
Separate Critical and Non-Critical Loading
<img
  src="/images/homepage-hero.webp"
  width="1600"
  height="900"
  alt="Interior of a modern small business office"
  fetchpriority="high"
>
<img
  src="/images/office-meeting.webp"
  width="800"
  height="533"
  alt="Small business team discussing a project"
  loading="lazy"
>
Mastering image lazy loading SEO, knowing when to preload hero image files, streamlining image loading optimization, and utilizing fetchpriority attributes puts critical assets right where they belong.
9. Create Image Sitemaps and Help Google Discover Important Images
While search crawlers naturally discover most media embedded in HTML body tags, standalone product galleries or dynamically injected JavaScript sliders can sometimes hide images from standard discovery.
Submitting dedicated XML image sitemaps or letting your content management system bundle media URLs automatically ensures search bots index your visual portfolio efficiently. Keeping images crawlable expands your reach into Google Images traffic without requiring complex hacks. Setting up an image sitemap, monitoring Google image indexing, structuring an image SEO sitemap, and knowing how to help Google find images closes discovery gaps (also see how to create a sitemap that surfaces image URLs alongside your navigable site architecture).
10. Optimize Product Photos, Blog Images, and Hero Banners Differently
"Do product images and large homepage banners need the same optimization settings?"
Applying a single, generic compression rule across every image on your domain is a recipe for sub-par results.
Tailor your image strategy by content type:
- Product Photos: Prioritize sharp zoom details and clean transparent backgrounds while maintaining lean WebP file weights.
- Blog Illustrations: Balance expressive visual storytelling with aggressive compression to keep informational pages lightning-fast.
- Hero Banners: Implement WebP/AVIF delivery, assign fetchpriority="high", and ensure mobile crops maintain emotional impact without dragging down LCP.
Refining your product image SEO, mastering blog image optimization, executing proper hero image optimization, and elevating ecommerce image SEO maximizes engagement across your templates (also see how to choose images for your website that match each placement's optimization needs).
11. Test Image Optimization with PageSpeed Insights and SEO Tools
Guessing which unoptimized JPEG is tanking your site speed is a waste of productive hours. Always rely on hard diagnostic data.
Image Optimization Decision Table
| Problem | Recommended Fix | What to Verify |
|---|---|---|
| Image file is too large | Resize and compress | File size and visual quality |
| Image looks blurry | Increase dimensions or adjust compression | Detail at actual display size |
| Image has no description | Add suitable alt text | Screen-reader usefulness |
| Mobile downloads oversized images | Implement srcset and sizes | Browser-selected image resource |
| Hero image loads too late | Remove lazy loading and review priority | LCP loading behavior |
| Decorative images have alt text | Use empty alt attributes | Accessibility |
| Important images hard to discover | Review HTML elements and image sitemaps | Crawl accessibility |
| Image appears stretched | Set appropriate dimensions and aspect ratio | Visual presentation |
| Repeated images use multiple URLs | Use consistent image URLs where practical | Duplicate image requests |
Running structured audits with tools like PageSpeed Insights, Lighthouse, or Screaming Frog SEO Spider (explore support metrics in the Google Search Console Help documentation) lets you test image SEO, utilize image optimization tools, review PageSpeed Insights images, and execute a thorough image performance audit.
12. Follow a Website Image SEO Checklist Before Every Upload
The ultimate secret to maintaining lightning-fast media performance is building a standardized publishing checklist into your content workflow.
Recommended Image Optimization Tools
| Tool | Best Use |
|---|---|
| Squoosh | Compare image formats, compression levels, and output quality. |
| TinyPNG | Compress PNG and JPEG images quickly. |
| ImageOptim | Optimize image files locally on macOS. |
| PageSpeed Insights | Find image-related loading and performance opportunities. |
| Lighthouse | Audit performance and image delivery in the browser. |
| Screaming Frog | Crawl image URLs and audit alt attributes. |
| Cloudinary | Manage image delivery, transformations, and responsive workflows. |
Following a strict website image SEO checklist, completing a dependable image optimization checklist, and adhering to proven image SEO best practices protects your digital storefront permanently.

Scale Your Visual Performance and Search Visibility Effortlessly with BoltWeb
Wrestling with server configuration files, manually converting raw photographs into WebP formats, and debugging responsive srcset attributes across hundreds of pages shouldn't steal hours away from running your company.
When you build your digital storefront on BoltWeb, automated image compression, responsive media delivery, and clean sitemap generation come built-in from the very first page you publish—while AI Foundry keeps watch behind the scenes so you can optimize website images for SEO effortlessly, get performance problems solved instantly, and protect your search visibility without manual technical maintenance.
Deploy your next high-converting page on BoltWeb, connect your custom domain, and create a business website engineered to turn stunning visual design into lasting revenue today!
Get Started On Your Journey →Frequently Asked Questions: Optimize Website Images for SEO
1. My website looks incredible with high-resolution photography, but could these massive, uncompressed images be slowing down my pages, frustrating mobile visitors, and dragging down my search visibility?
Here is the plain truth: High-definition visual assets give your digital storefront emotional punch, but they carry massive data weight. When you upload unresized multi-megabyte photographs straight from a camera roll, you force mobile browsers to download unnecessary pixel data over slow cellular connections. This sluggish delivery tanks your Core Web Vitals, spikes your Largest Contentful Paint times, and causes impatient buyers to bounce before your content even appears. Mastering website image optimization bridges the gap between stunning visual design and lightning-fast technical performance, ensuring search crawlers index your media and human visitors enjoy a seamless browsing experience. When you build your online storefront on BoltWeb, getting automated, highly useful image optimization in your website is effortless. Instead of resizing files manually, BoltWeb formats, compresses, and serves modern image formats automatically right out of the box—giving you lightning-fast page speeds and flawless mobile performance without manual technical stress.
2. Should I convert all my website images to next-generation formats like WebP or AVIF, or do traditional JPEG and PNG files still serve a purpose?
Using outdated formats or mismatched file types bloats your page weight unnecessarily, making it vital to choose the correct image format based on visual requirements and browser compatibility. While WebP and AVIF deliver superior compression for product and blog photographs without sacrificing visual clarity, vector logos and icons should always be served as scalable SVGs, and legacy assets can remain in traditional formats only where existing platform workflows require strict compatibility (also see how outdated image formats contribute to slow page loads).
3. Why upload a massive 4000-pixel camera photo when my website content column displays it at a much smaller width?
A classic amateur mistake is uploading a massive camera raw photo straight into a narrow blog content column, forcing the browser to process excessive hidden pixel data even if the image is visually scaled down by CSS. Preparing your media assets by matching source dimensions precisely to their intended display layout eliminates wasted bandwidth and keeps your mobile delivery lean and responsive.
4. How can I reduce my image file sizes aggressively without making my product photographs look grainy or pixelated?
Striking the right balance between aggressive file compression and pristine visual clarity prevents your product photos from looking blurry to prospective buyers. Evaluating compression settings by inspecting fine details, text edges, and transparency after encoding rather than chasing the absolute smallest file size blindly ensures your visuals remain crisp while shedding unnecessary data weight (also see how aggressive image compression fits into a broader strategy to make your website load faster).
5. Should I stuff my target commercial keywords into the alt text of every single image on my website?
Stuffing every image description with repetitive keyword lists looks spammy to search engines and creates a terrible, frustrating experience for visually impaired users relying on screen readers. The true purpose of alt text is to communicate meaningful image content clearly and accurately, reserving empty alt attributes exclusively for purely decorative background elements (also see how to choose images for your website that pair meaningful visuals with descriptive alt text).
6. Does renaming my image files from generic camera strings to descriptive words actually improve my image search visibility?
Leaving image files named as generic camera strings like IMG_9824.jpg provides zero contextual clues to search crawlers indexing your visual portfolio. Renaming your files before uploading using plain English words separated by hyphens gives search engines clear topical signals that reinforce the surrounding text and captions on your pages.
7. My desktop images look sharp, but are my mobile visitors downloading unnecessarily large files meant for big screens?
Serving a massive 1600-pixel wide desktop banner to a smartphone user wastes cellular data and slows down page rendering across mobile networks. Implementing responsive image delivery through srcset attributes and sizes rules allows mobile browsers to fetch appropriately scaled asset versions tailored specifically to their screen resolution (also see how to make a website mobile-friendly through responsive asset delivery).
8. Why do some images appear late during scrolling, and should I apply lazy loading to every single image on my webpage?
Lazy loading is a powerful performance technique for below-the-fold media, but applying it to your primary hero banner delays image discovery and tanks your LCP score. You must separate critical hero assets that require immediate fetching using fetchpriority hints from secondary images further down the page that benefit from native loading="lazy" attributes.
9. How do I help Google find and index important product images that aren't easily discovered through standard website navigation?
While search crawlers naturally discover most media embedded in HTML body tags, standalone product galleries or dynamically injected sliders can sometimes hide images from standard discovery. Submitting dedicated XML image sitemaps or letting your content management system bundle media URLs automatically ensures search bots index your visual portfolio efficiently without requiring complex workarounds (also see how to create a sitemap that surfaces your image URLs cleanly to search crawlers).
10. Do product photographs and large homepage banner images require the exact same optimization and compression settings?
Applying a single, generic compression rule across every image on your domain is a recipe for sub-par results across different templates. Tailoring your image strategy by content type allows you to prioritize sharp zoom details for product photos while balancing expressive visual storytelling with aggressive compression for blog illustrations (also see how to choose images for your website that match each placement's optimization needs).
11. How can I systematically test and verify which specific images are causing performance bottlenecks on my website?
Guessing which unoptimized JPEG is tanking your site speed is a waste of productive hours when you can rely on hard diagnostic data. Running structured audits with professional tools like PageSpeed Insights and Lighthouse helps you identify oversized payloads, missing alt attributes, and slow-loading LCP assets so you can prioritize your fixes effectively.
12. How do I make image optimization a consistent habit every time my team publishes fresh content instead of treating it as a chore?
The ultimate secret to maintaining lightning-fast media performance is building a standardized publishing checklist into your content workflow rather than relying on massive cleanup projects. Requiring your publishing team to format, resize, compress, name, and tag every new upload consistently protects your digital storefront permanently and keeps your page speeds blazing fast (also see the small business SEO readiness checklist that keeps image optimization healthy after every publish).